1 - New File 2- Black Elispes
 3- Changing the Elipses Colors
 4- Beginn the Colors
 5- Overlay
 6- Content Area
 7- Creating the color shapes
 8- Placing the Color Shapes
 9- Stars
 10- Clouds
 11- Position of the Clouds
 12- Content Elements
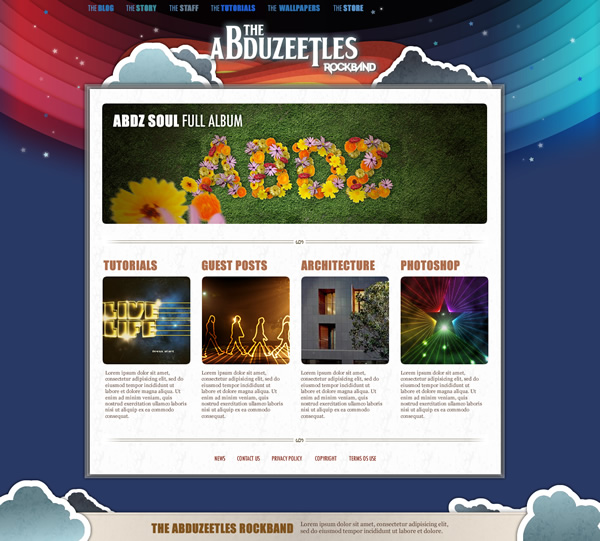
 Final Result
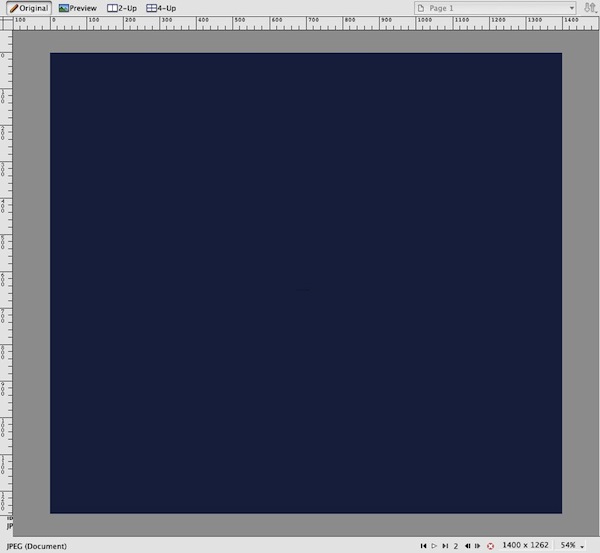
Open a news file in Fireworks of 1440x1260 pixels, use the color #293965 on background.
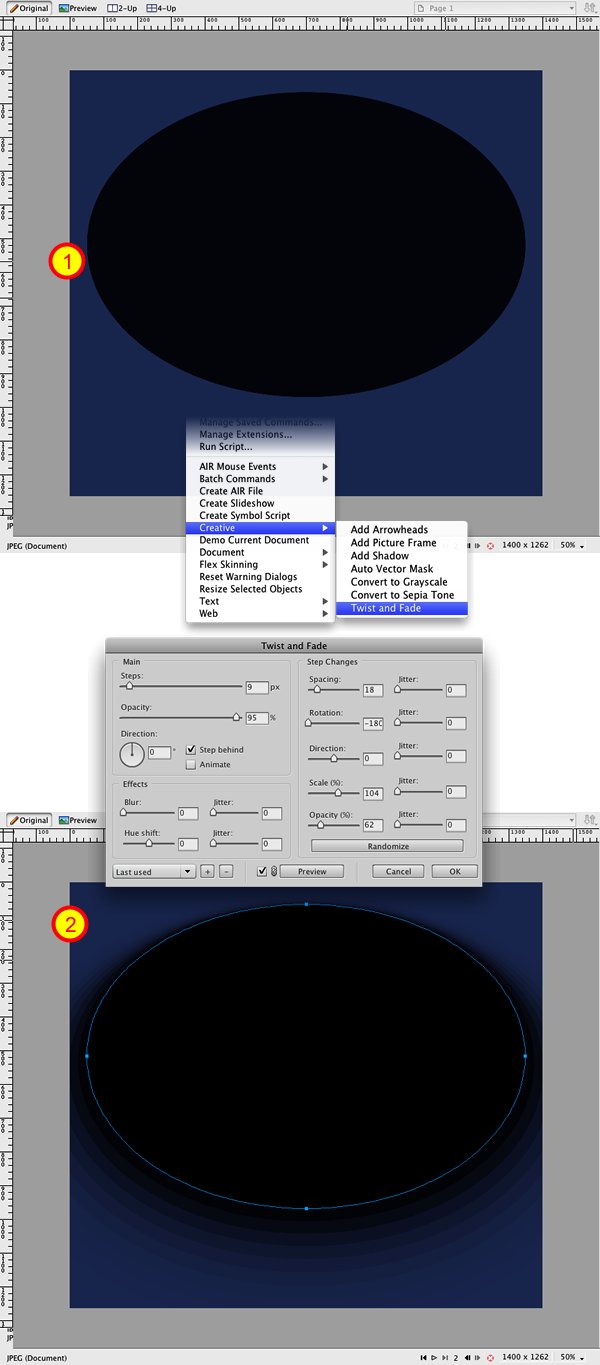
Let's start creating the color background. To do that, draw a black elipse like the Figure 1. So apply Command > Creatie > Twist and Fade, use the values as the figure, but try to play with the values to figure out all the possibilities that this tool can do.
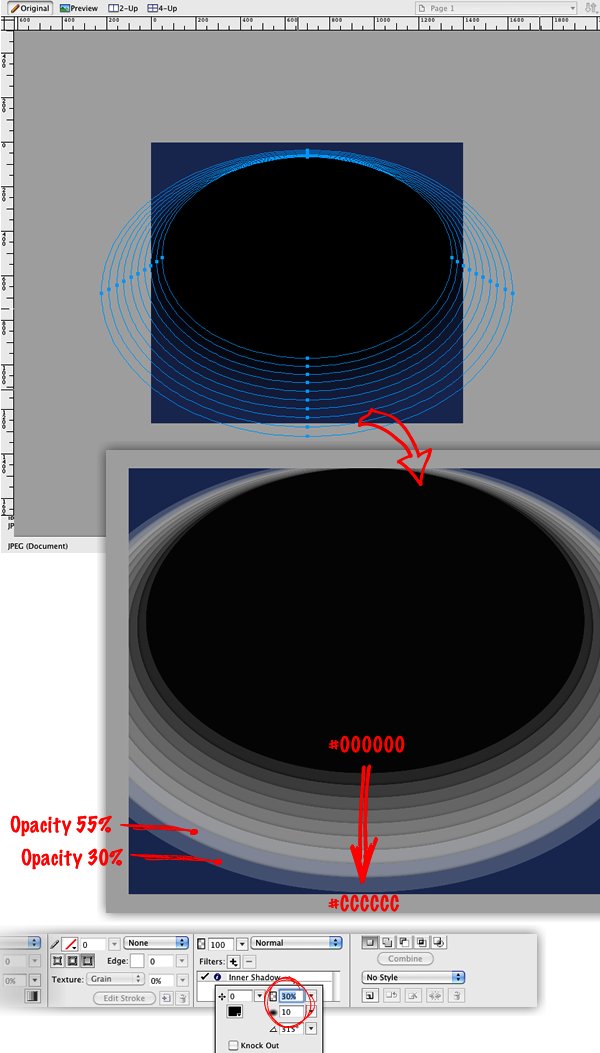
Before create the Twist, we need to change the colors to have the effect we want. Apply grey scales between #000000 to #CCCCCC, like the Figure. Now we still have some details, on every elipse, apply Inner Shadow 0 - 30% - 10, and on the last 2 apply a bit of opacity.
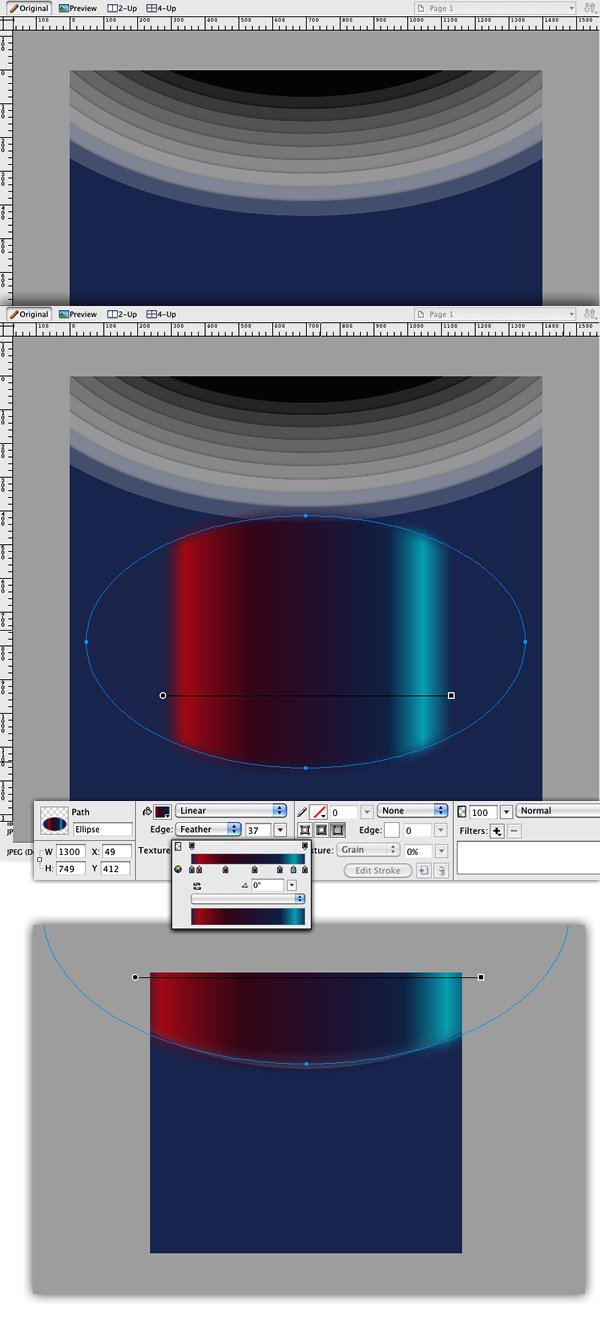
Place this group we got now on the top of our canvas. After that create a new elipse, apply a Linear Gradient wit the colors like the image. Here you can change the colors if you want, feel free to do that! Doing that scale and move the new elipse to be exactly over the group of elipses.
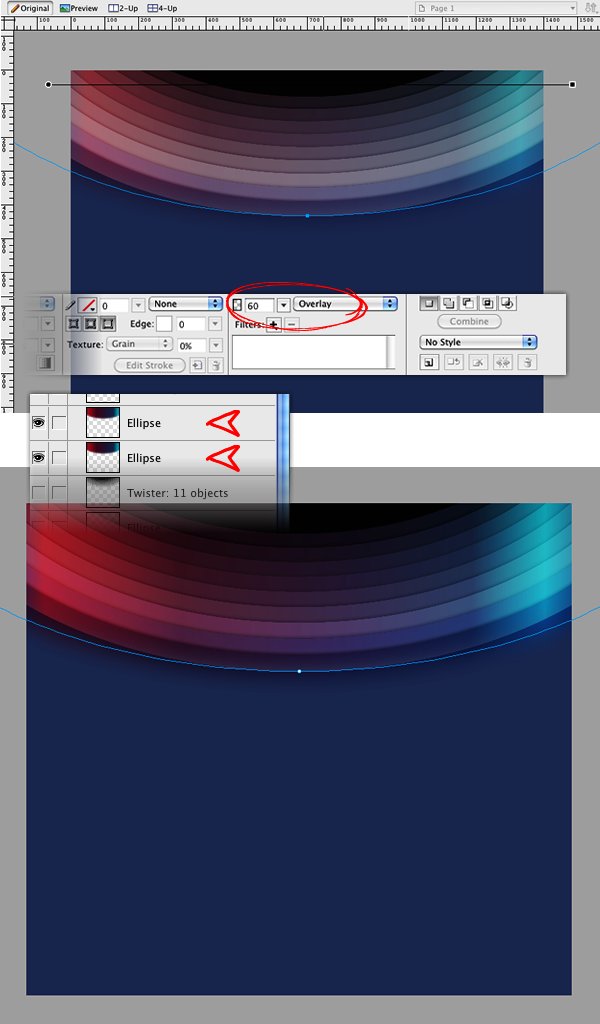
Now just apply an Overlay on this color elipse with 60% opacity, then double it to get even more contrast.
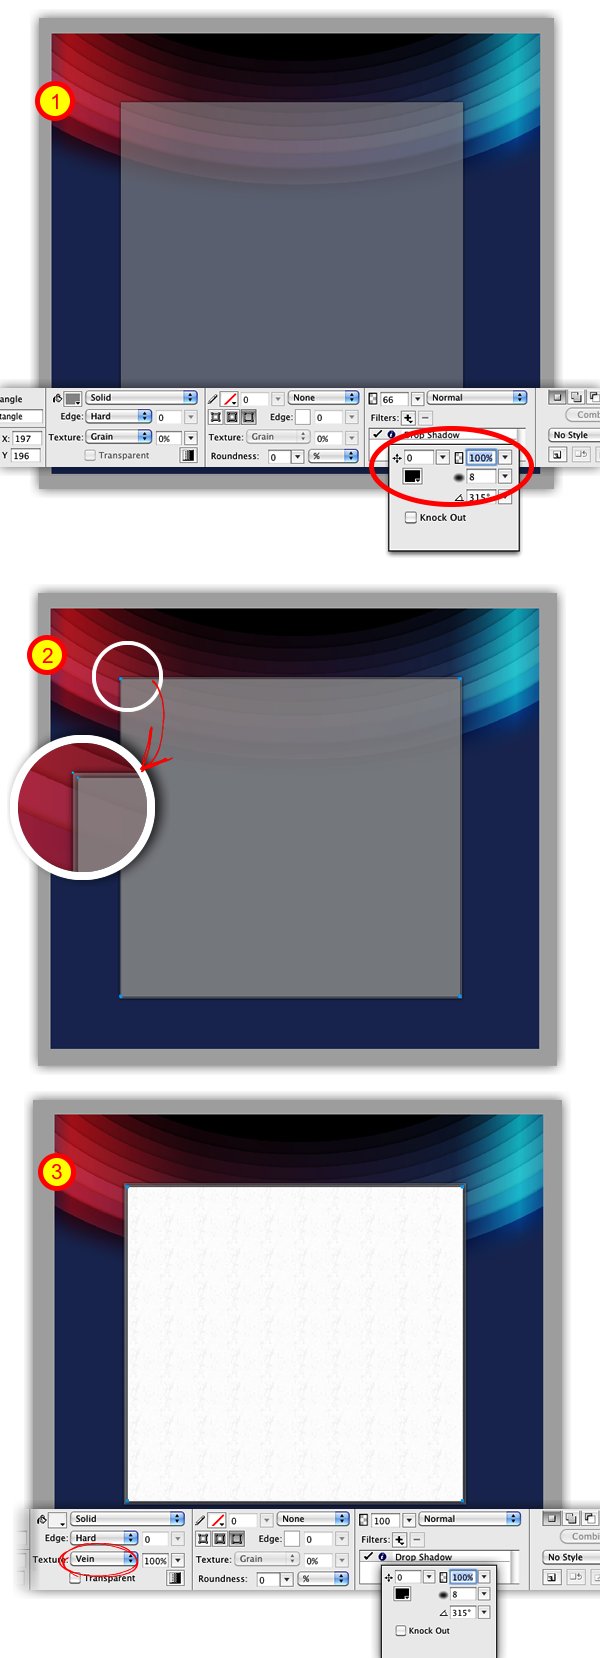
To get this content area we will use 3 rectangles. The first one will have color #999999, opacity 66% and Drop Shadow. The second one it's exactly the same, just double and reduce 5 pixels on each side. The third one you have to reduce more 5 pixels and apply color #F5F5F5 and the Vein texture.
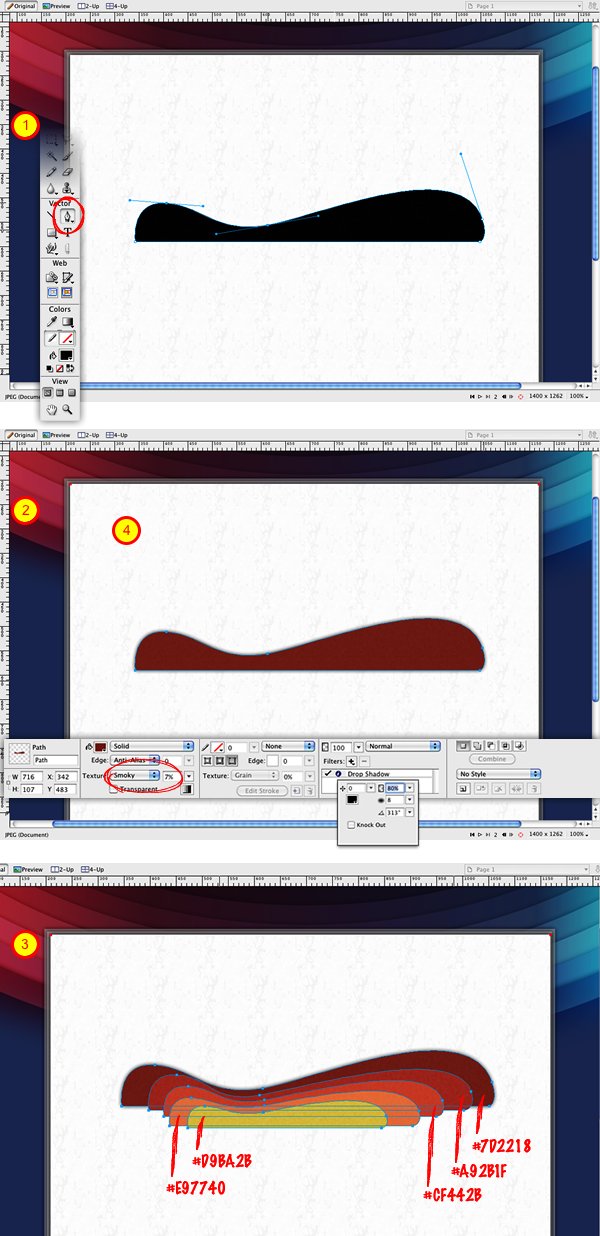
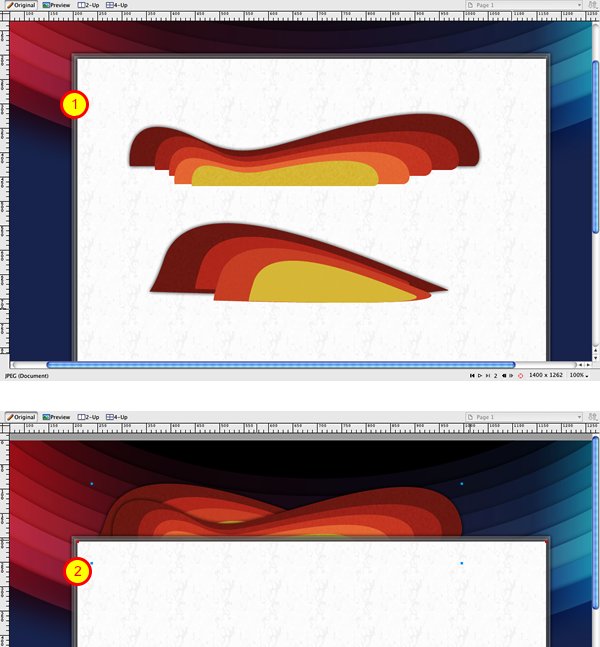
The color elements on the header will be created with the Pen tool. Draw a shape like the Figure 1, apply texture, color and Drop Shadow like the Figure 2. Then double this element and adjust size and colors like the Figure 3.
Group these shapes just created. Create others like we did in the Figure 1 then place behind the background's content.
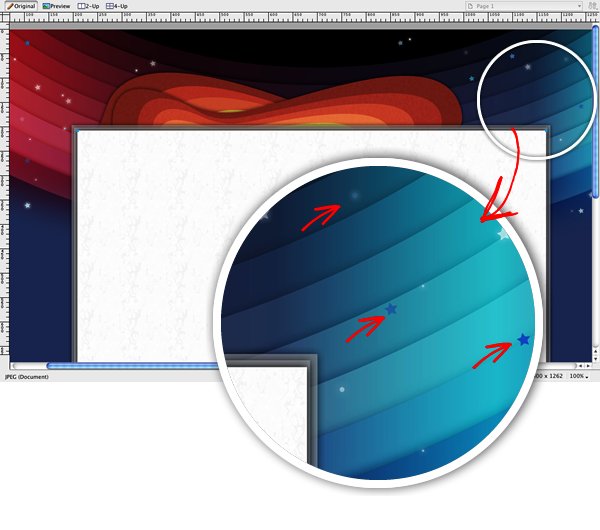
Let's bring life to the background! To do that just create several stars and circles with colors and different opacities. A tip is to apply Glow in some of them to have a nice effect.
To the clouds is a bit simple, we will make them with circles and elipses. Create the shapes you want, so go to Modify > Combine Paths > Union. After that apply a 10px white border, play with gradients and textures, and apply a Drop Shadow too.
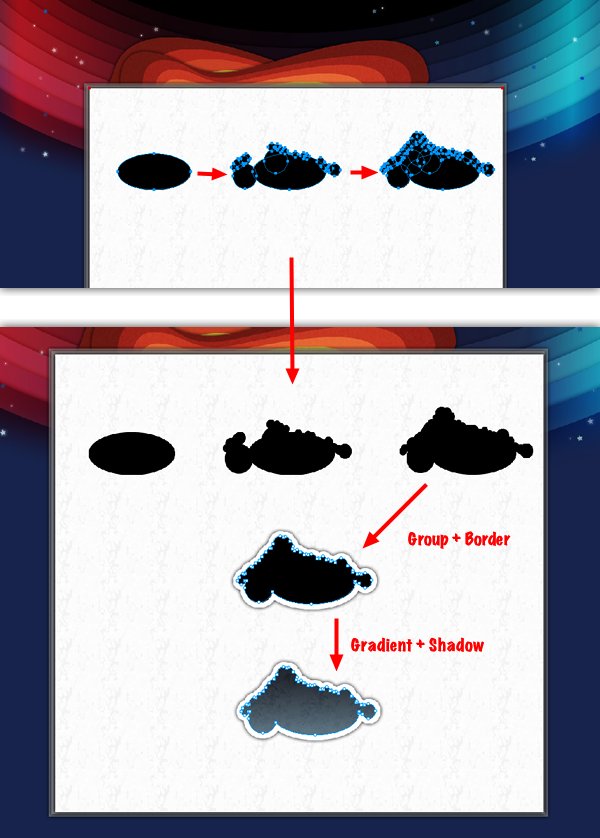
Create 3 models of clouds, place them on the header, behind the content and on the footer. Also, draw some elements on the footer like the Figure, to place some texts on it..
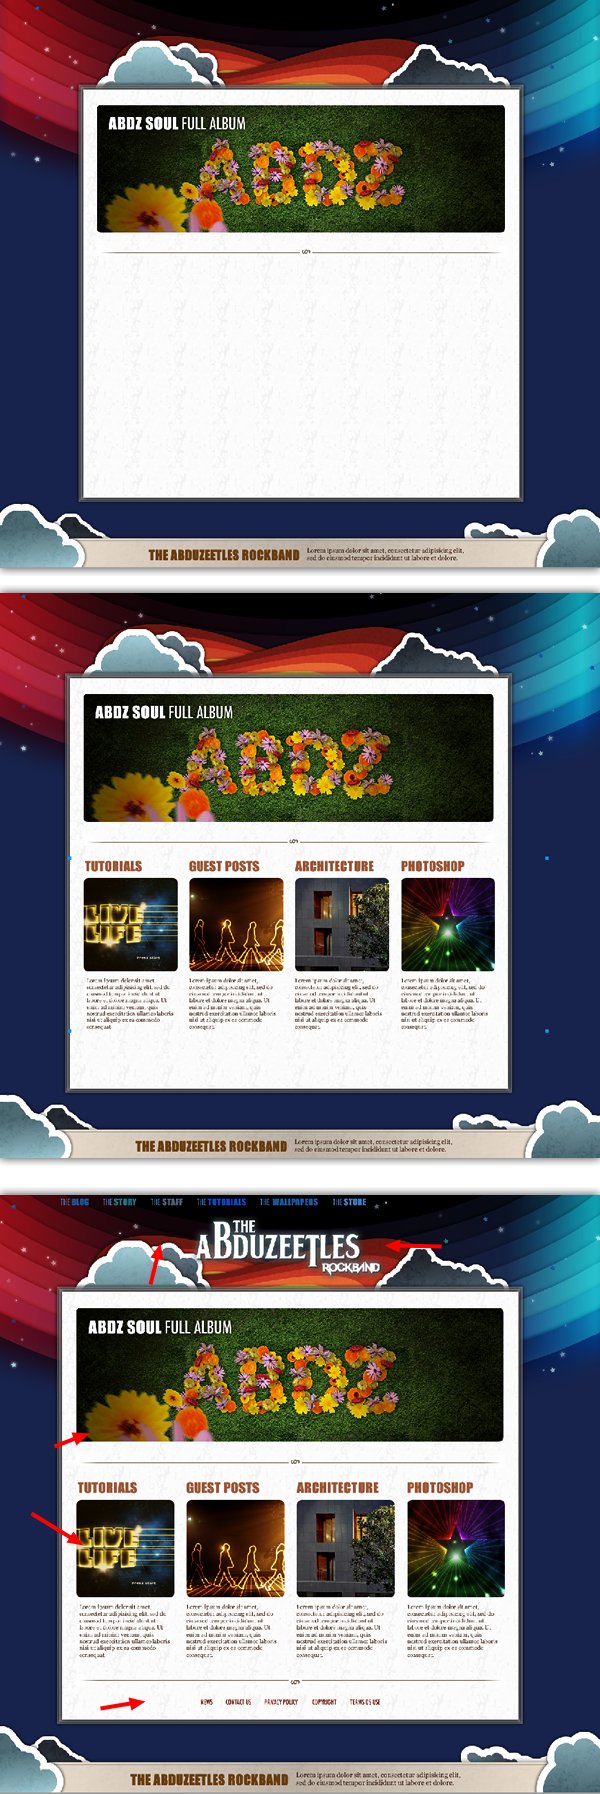
Now, to finish let's put some elements inside of our website. LIke we did, use a main image, some boxes with contents, main menu and secondary menu, and of course, the logo, that here is our Abduzeetles Rockband!
ทำเว็บเจ๋งๆด้วยPhotoShop
[IMG]
[IMG]
