เทคนิคการทำภาพในความฝัน 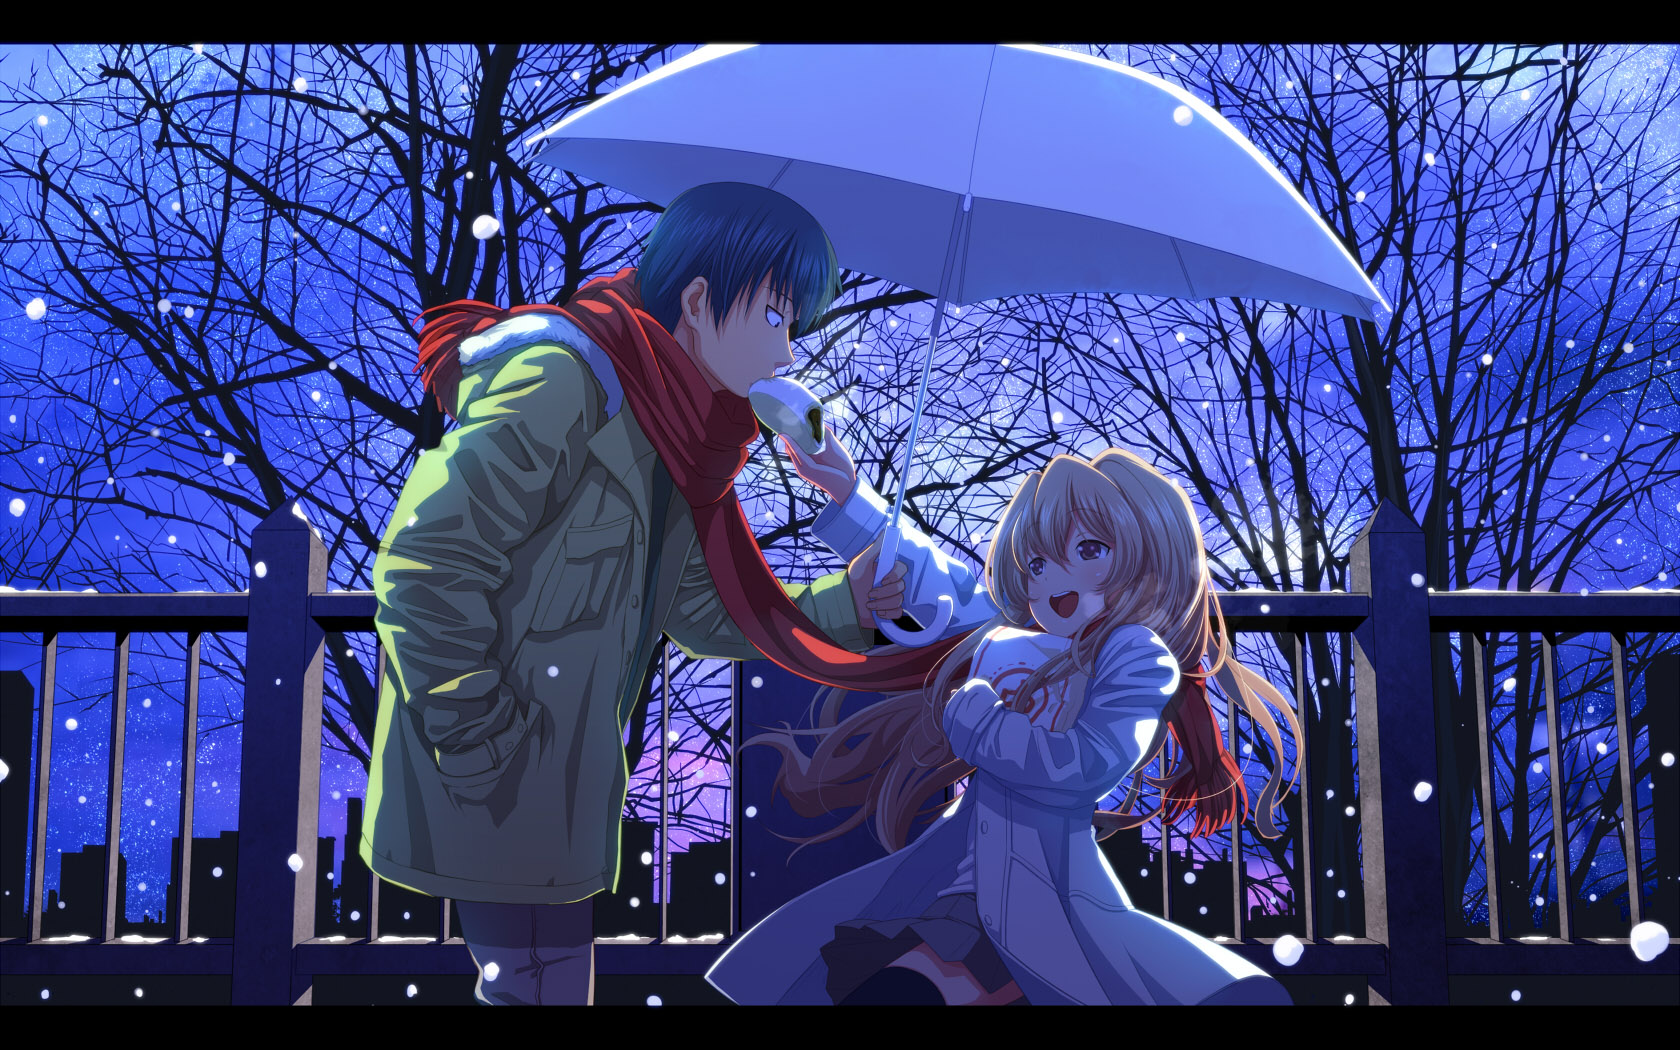
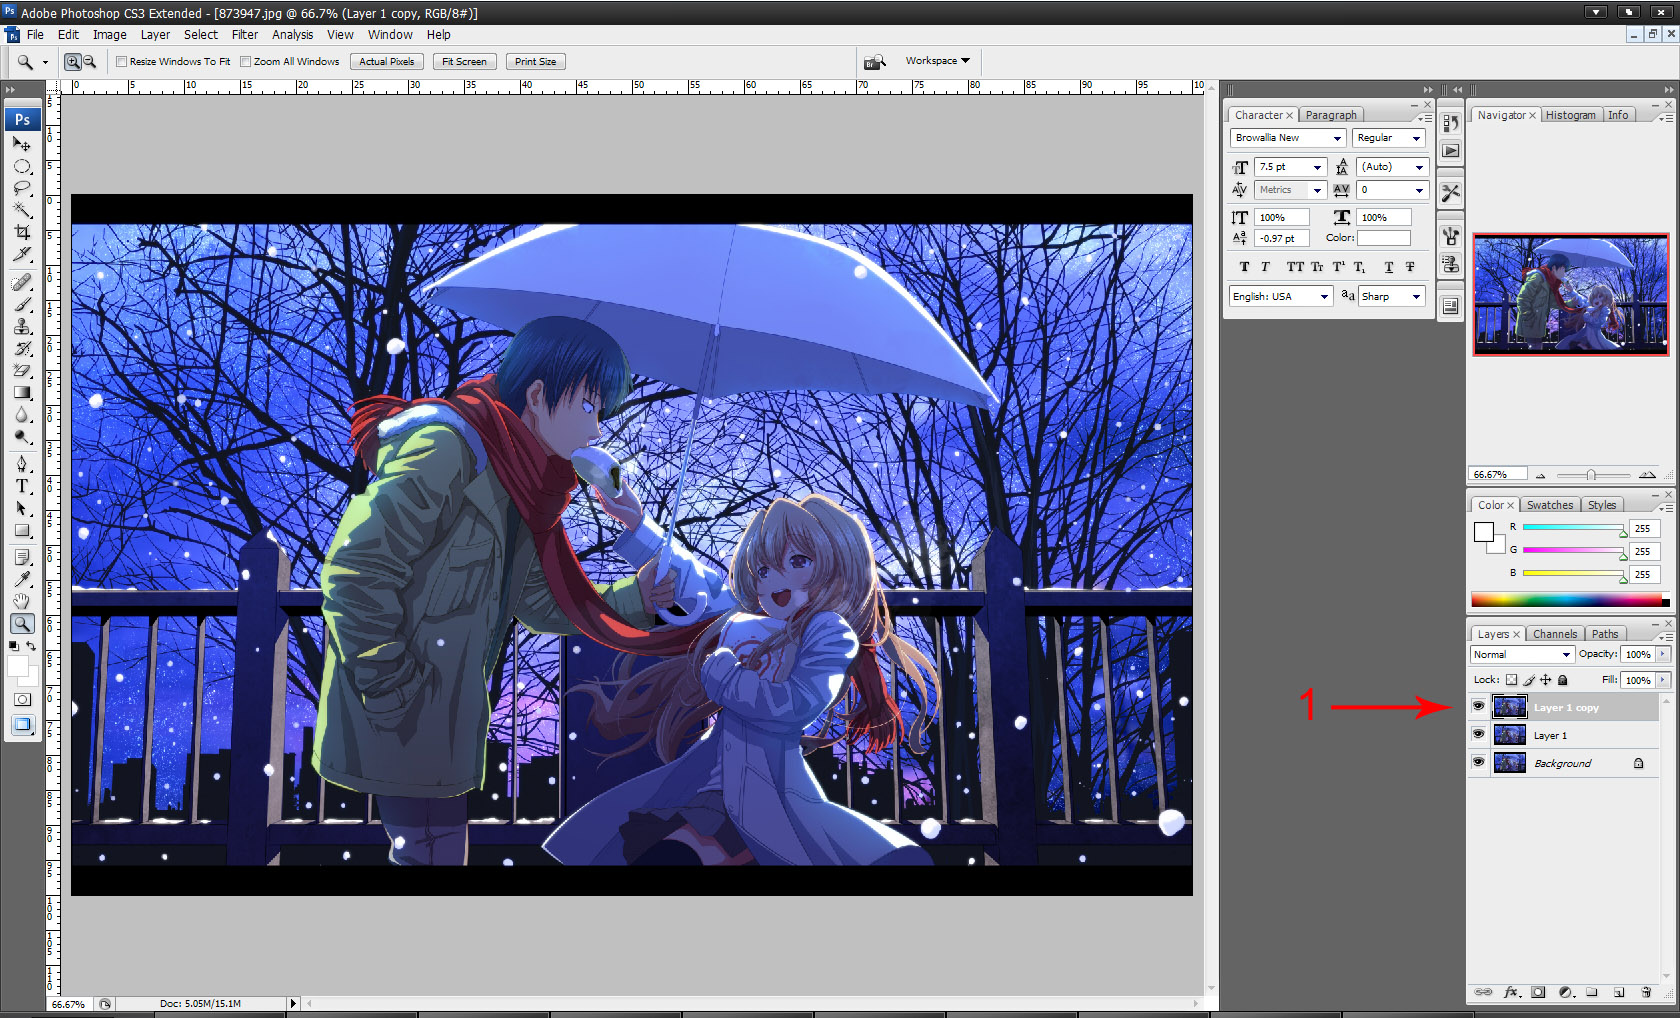
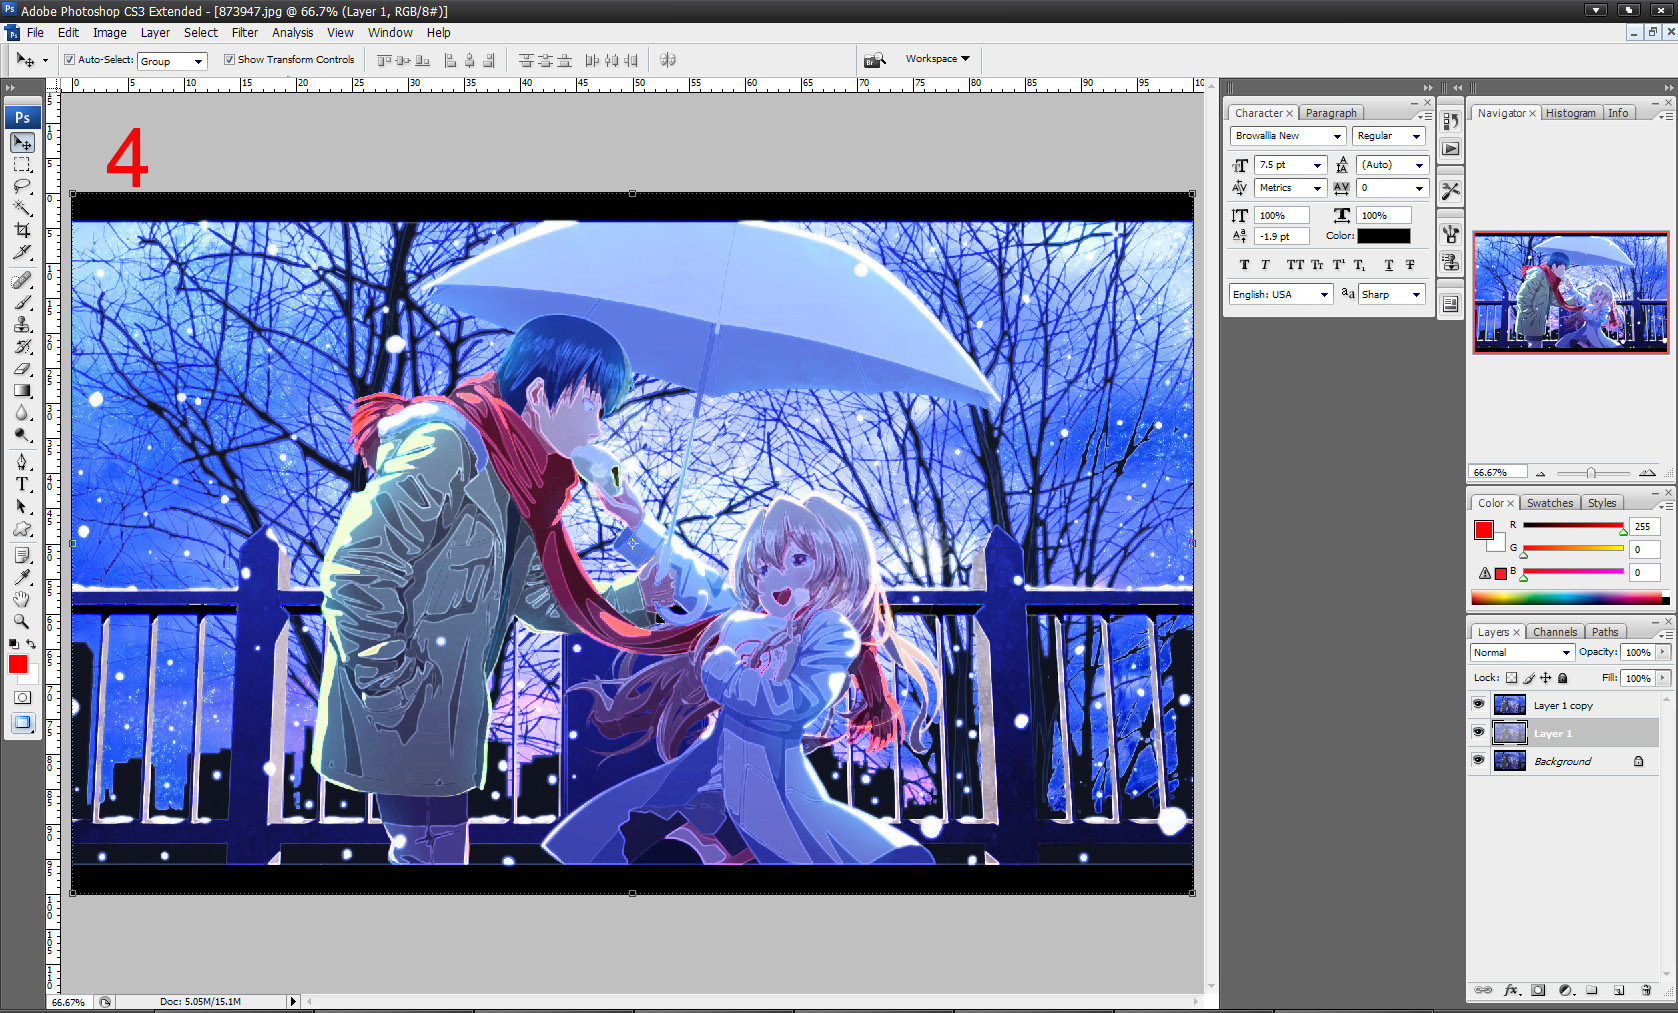


ขั้นตอนที่ 1 ลำดับแรกก็เปิดภาพที่ต้องการจะทำขึ้นมาก่อน (อยากฝันถึงอะไรก็เอาภาพนั้นมาทำนะครับ ) หลังจากที่ เปิดมาแล้วก็ให้ทำการ Copy Layer (Ctrl+j) ของรูปภาพออกมาเป็น 3 เลเยอร์ตามภาพตำแหน่งที่ 1 ครับ

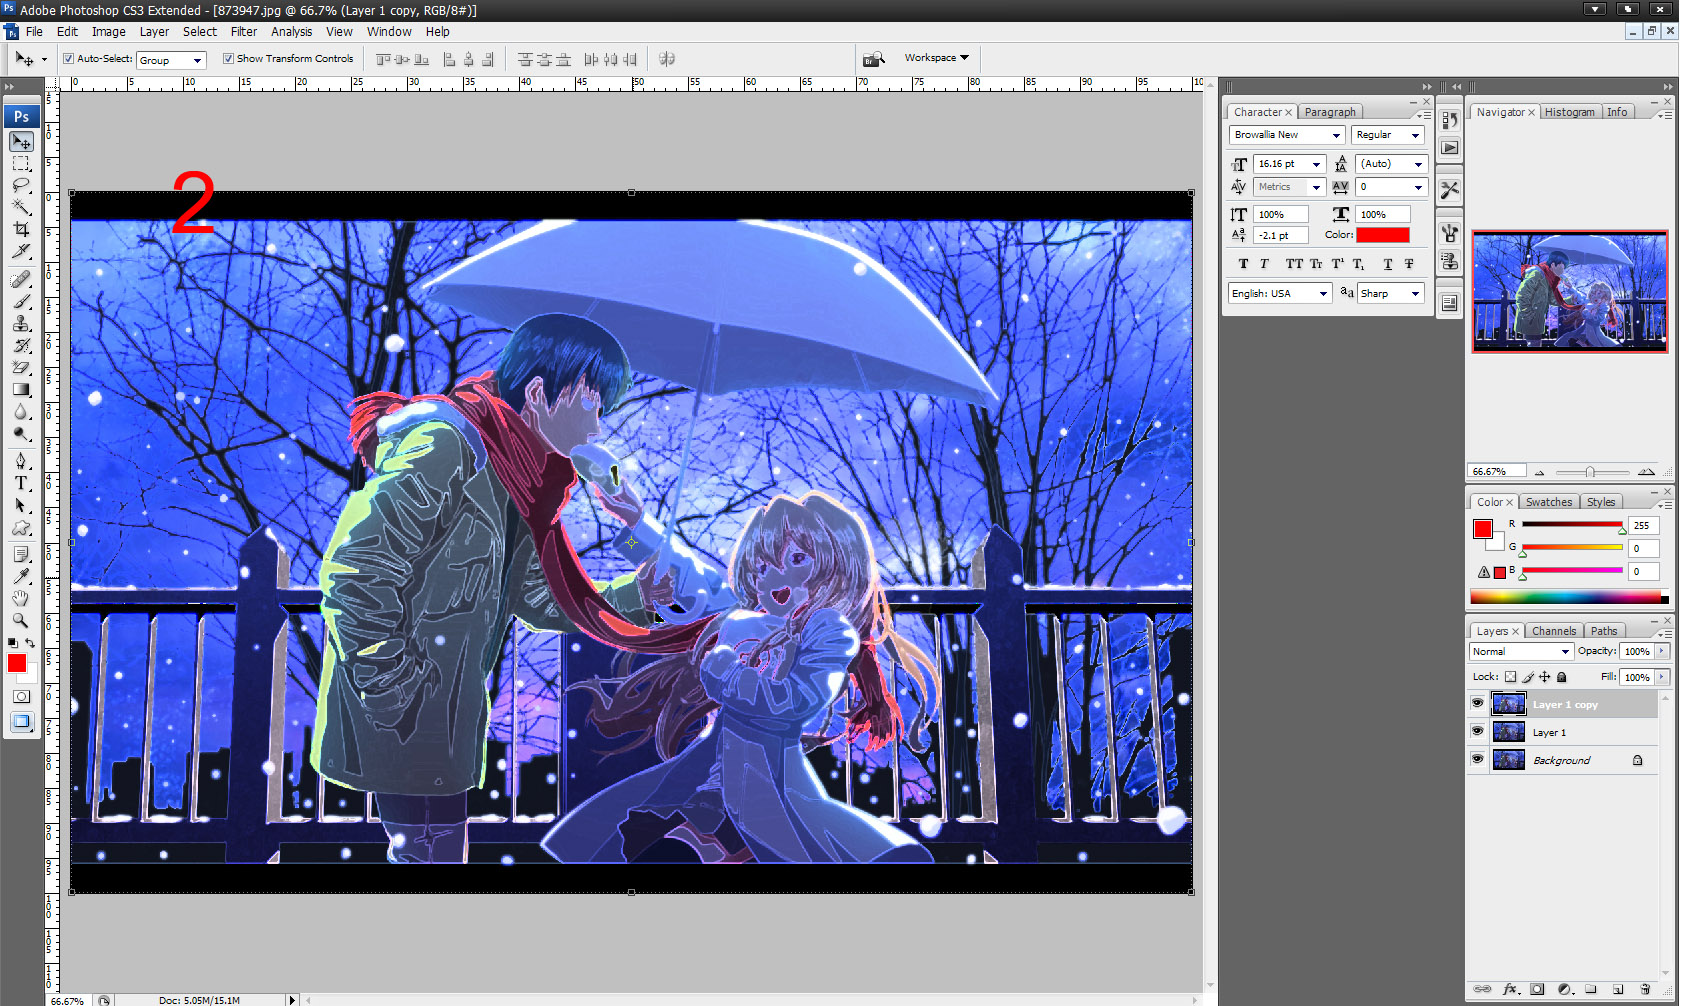
ขั้นตอนที่ 2 คลิกที่ Layer : Layer 1 copy ตามภาพตำแหน่งที่ 1 จากนั้นใช้คำสั่ง Filter ---> Brush Strokes ---> Accented Edged จากนั้นให้ปรับค่า ต่าง ๆ ดังนี้ Edge width = 2, Edge Brightness = 38, Smoothness = 5 ซึ่งจะทำให้ได้ผลลัพธ์ตามภาพตำแหน่งที่ 2

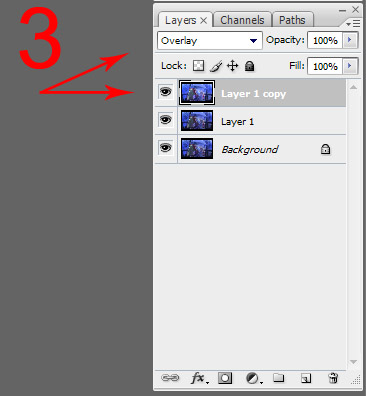
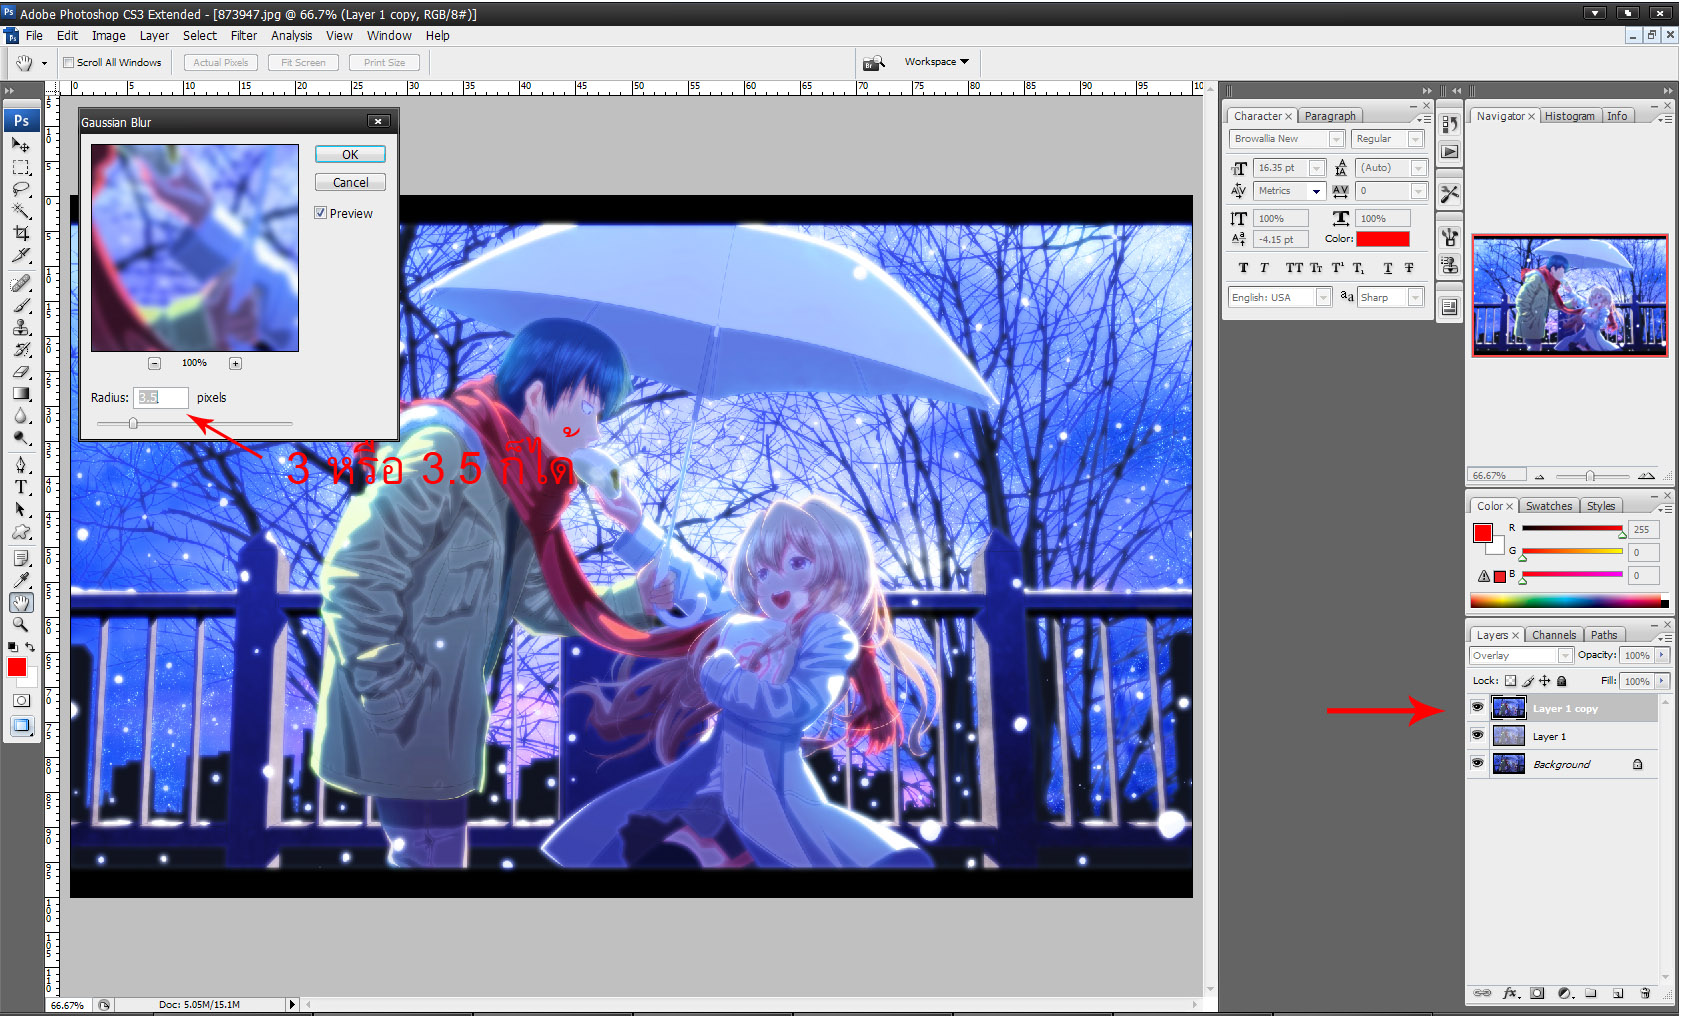
ขั้นตอนที่ 3 คลิกที่ Layer : Layer 1 copy ตามภาพที่ตำแหน่งที่ 3 จากนั้นปรับค่าให้เป็น Overlay ดังภาพในขั้นตอนที่ 3

ขั้นตอนที่ 4 คลิกที่ Layer : Layer 1 copy ตามขั้นตอนที่ 4 จากนั้นใช้คำสั่ง Image ---> Adjustments ---> Hue/Sturation... แล้วปรับค่า Lightness = +42

ขั้นตอนที่ 5คลิกที่ Layer : Layer 1 copy ตามภาำพที่ตำแหน่งที่ 5 จากนั้นใช้คำสั่ง Filter ---> Blur ---> Gaussian Blur กำหนดค่า Radius = 3

ขั้นตอนที่ 6 คลิกที่ Layer : Layer 1 copy ใช้คำสั่ง Image ---> Adjustments ---> Hue/Sturation... แล้วปรับค่า Sturation = -25

และแล้วก็จะได้ผลลัพธ์ตามภาพสุดท้าย เพื่อน ๆ ว่าดูแล้วเหมือนภาพความฝันไหมคครับ ลองเอาเทคนิคไปปรับแต่งดูนะครับ
แก้ไขครั้งสุดท้ายโดย toeyduck เมื่อ 2012-5-24 14:45
ทำภาพแบบในความฝัน ด้วย Potoshop
[IMG]